Introduction
Baking is not just about following a recipe; it’s an experience that brings joy and warmth into our homes. This Delicious and Easy Chouriço Bread combines rich flavors and a delightful texture, making it an ideal choice for both novice and seasoned bakers. With its unique blend of spices and the savory taste of chouriço, this bread is sure to impress at any gathering, whether it’s a casual brunch or a festive dinner.
Imagine the aroma wafting through your kitchen as the bread bakes, inviting your friends and family to gather around. The best part? It’s simple enough for young professionals who love homemade food but may feel pressed for time. In just a little over an hour, you can create a loaf that not only tastes amazing but also boasts a beautiful golden crust.
With just a handful of ingredients and straightforward instructions, this recipe will become a staple in your baking repertoire. So, let’s roll up our sleeves and dive into the process of making this delicious chouriço bread that’s bound to become a favorite in your household.
Key Ingredients
Understanding the key ingredients in this Delicious and Easy Chouriço Bread is essential to achieving that perfect loaf. Each component plays a significant role in the flavor, texture, and overall success of your bread-making adventure.
All-Purpose Flour (3 cups)
All-purpose flour is the backbone of this bread, providing the necessary structure and chewiness. It contains a balanced amount of protein, which helps create gluten, giving the bread its delightful texture.
Instant Yeast (1 packet)
Instant yeast is a time-saver, allowing the dough to rise quickly without the need for proofing. It ensures a light and airy loaf with a soft crumb, making it an ideal choice for busy bakers.
Salt (1 teaspoon)
Salt is crucial for enhancing flavor and controlling yeast fermentation. It also strengthens the dough, resulting in a better texture and crust, ensuring your bread is both tasty and beautifully risen.
Warm Water (1 cup)
Warm water acts as a catalyst in activating the yeast while also hydrating the flour. The right temperature ensures the yeast thrives, leading to optimal rising.
Olive Oil (1 tablespoon)
Olive oil adds richness and moisture to the dough, contributing to a tender crumb. It also helps improve the bread’s shelf life, keeping it fresh longer.
Chouriço (1 cup, diced)
Chouriço is the star of this recipe, infusing the bread with its spicy, smoky flavor. Its savory notes elevate the bread, making it a delightful addition to any meal or snack.
Paprika (1 teaspoon)
Paprika adds a subtle warmth and color to the bread, enhancing its flavor profile. This spice complements the chouriço, creating a harmonious blend that’s both inviting and delicious.
Each of these ingredients plays a vital role in creating a loaf that is not only flavorful but also easy to make. From the comforting aroma that fills your kitchen to the satisfying taste of the finished product, this chouriço bread is sure to become a beloved staple in your home.

Why You’ll Love This Recipe
Baking this Delicious and Easy Chouriço Bread is an experience that delights the senses and satisfies your cravings. This recipe stands out for its simplicity, making it accessible for young professionals and homemade-food lovers alike. With just a few ingredients and straightforward steps, you can create a flavorful bread that elevates any meal or occasion.
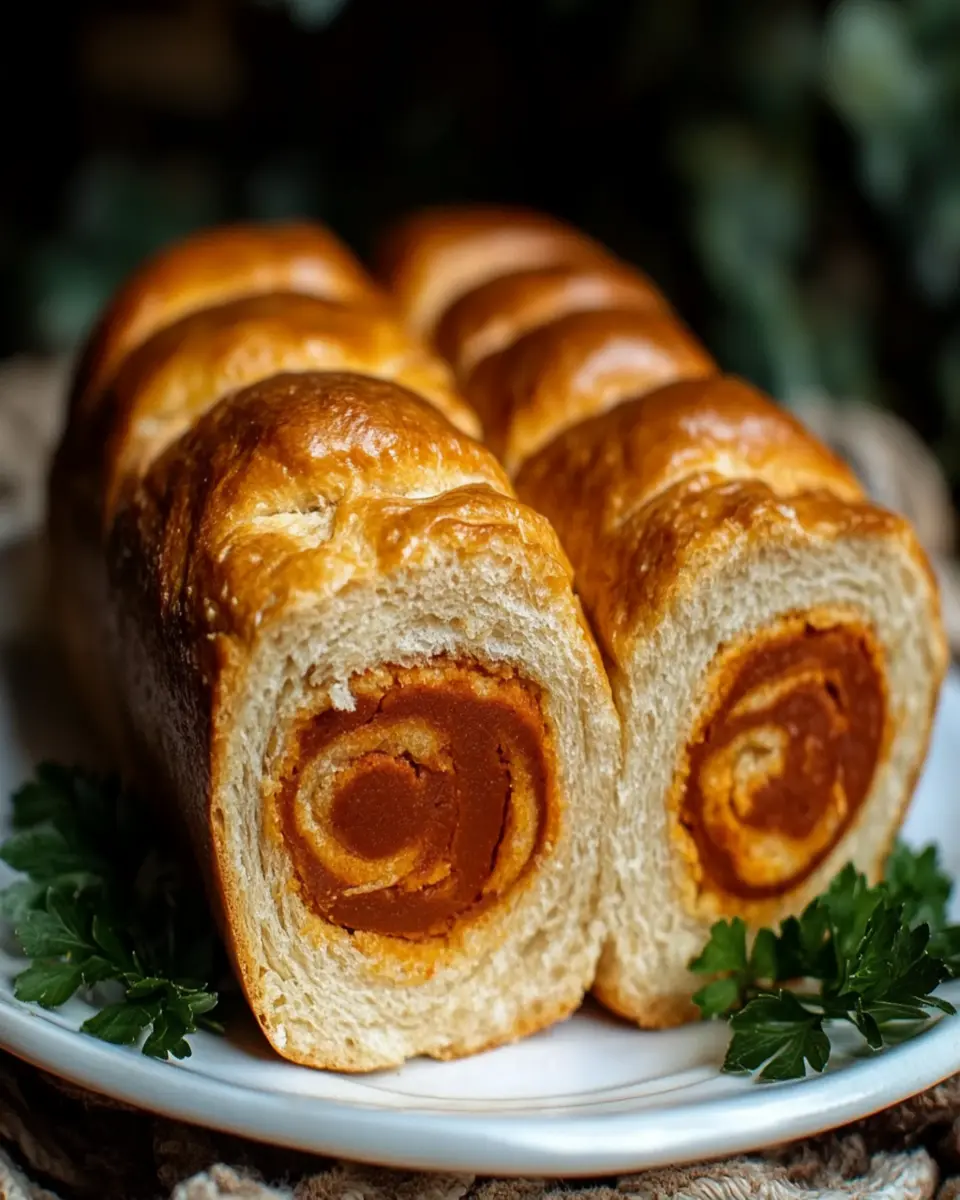
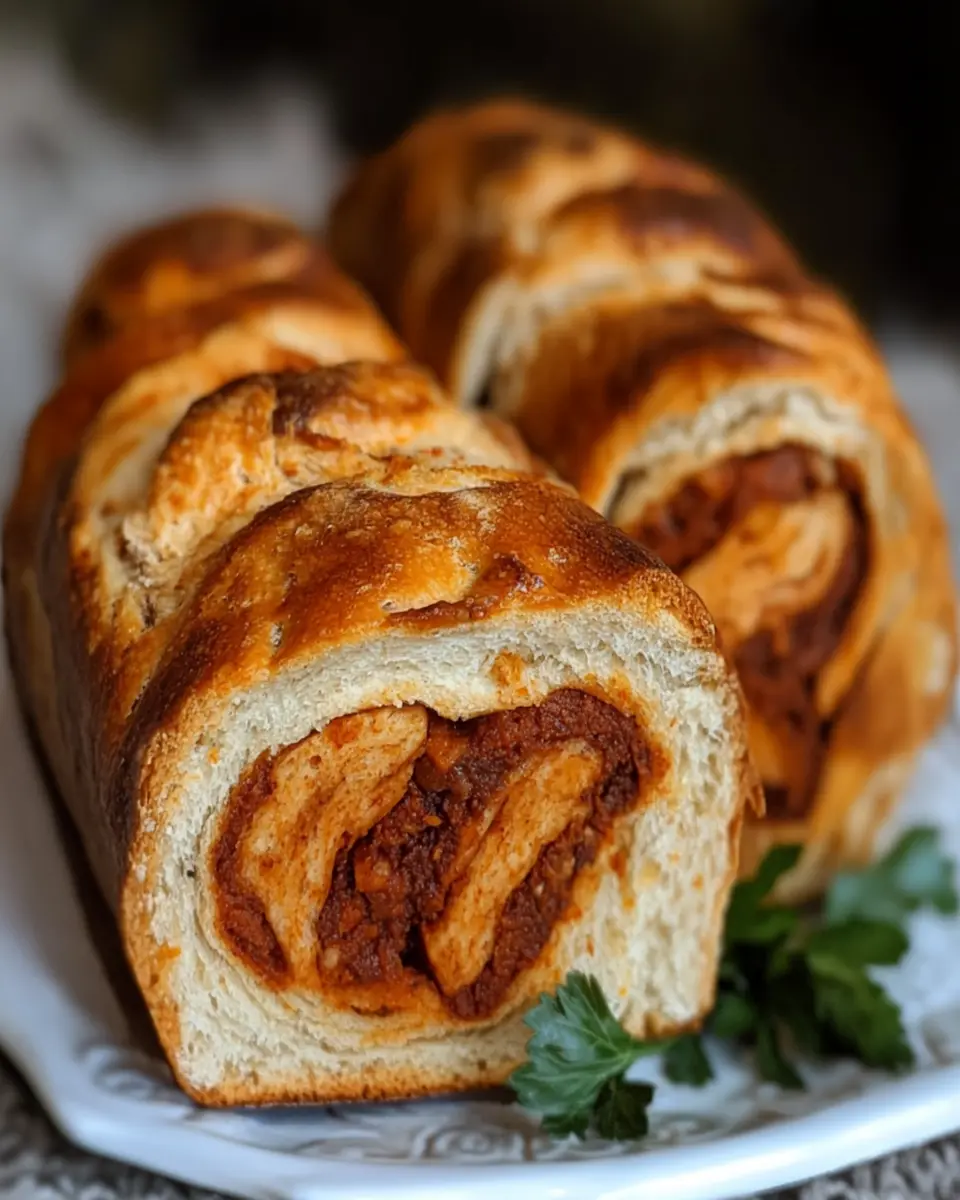
What makes this bread truly special is the combination of savory chouriço and the warm, inviting aroma it produces while baking. Imagine slicing into a freshly baked loaf, the crust crispy and the inside soft and fragrant. It’s perfect for sandwiches, served alongside soup, or enjoyed on its own with a bit of butter.
Not only is this bread delicious, but it’s also a fantastic way to impress friends and family without spending hours in the kitchen. In under two hours—most of which is passive time as the dough rises—you can serve up a homemade loaf that feels gourmet. Plus, with the ability to store leftovers for up to three days, you’ll have tasty snacks ready at your fingertips.
Whether you’re new to baking or a seasoned chef, this chouriço bread will quickly become a favorite in your repertoire. Embrace the joy of homemade bread and enjoy sharing it with your loved ones!
Variations
Baking is an art, and every artist loves to experiment! This Delicious and Easy Chouriço Bread is no exception; it lends itself to delightful variations that can cater to different tastes and dietary preferences. Here are some ideas to inspire your next baking adventure.
Cheese Lover’s Twist
Incorporating cheese is a fantastic way to elevate the flavor profile of your chouriço bread. Consider adding shredded cheddar or crumbled feta into the dough along with the chouriço. The melted cheese will create a rich, savory experience that is sure to impress your guests.
Herb Infusion
Herbs can add a fresh dimension to your bread. Try mixing in chopped fresh herbs like rosemary, thyme, or parsley to the dough. This not only enhances the aroma but also brings a vibrant flavor that pairs beautifully with the chouriço.
Gluten-Free Alternative
For those who are gluten-sensitive, you can adapt this recipe using a gluten-free all-purpose flour blend. Ensure your yeast is also gluten-free, and follow the same instructions. The result will be a delicious bread that everyone can enjoy without compromising taste.
Sweet and Savory
For a unique twist, consider adding a touch of sweetness to your chouriço bread. A tablespoon of honey or a sprinkle of sugar can complement the savory elements beautifully. This unexpected combination is perfect for a brunch or as a snack with cream cheese spread.
These variations allow you to tailor the Delicious and Easy Chouriço Bread to your personal taste or dietary needs, making it a versatile recipe that can be enjoyed in many ways. So, gather your ingredients and let your creativity shine in the kitchen!
Cooking Tips and Notes
Baking bread can be a rewarding experience, especially with this Delicious and Easy Chouriço Bread. To ensure your baking process goes smoothly, here are some essential tips and notes to consider.
Proofing the Yeast
Make sure your water is warm, but not too hot, as this can kill the yeast. The ideal temperature is around 110°F (43°C). If you’re unsure, test it with your wrist; it should feel warm but not uncomfortable. Proper proofing is crucial for a good rise!
Kneading Technique
Knead the dough for about 8-10 minutes until it becomes smooth and elastic. A well-kneaded dough will trap air, allowing it to rise beautifully. If you find the dough too sticky, sprinkle a little extra flour as needed, but avoid adding too much to keep it light.
Achieving the Perfect Crust
For a crustier bread, place a shallow pan with water in the oven while your bread bakes. The steam will help create a crisp crust. Additionally, avoid opening the oven door too frequently, as this can cause temperature fluctuations and affect the baking process.
Cooling Before Slicing
Let your chouriço bread cool completely on a wire rack before slicing. This step is vital for achieving the best texture and avoiding gummy slices. Patience pays off when it comes to enjoying your freshly baked bread!
These tips will help you create a delightful loaf that showcases the flavors of chouriço and paprika. Enjoy your baking journey!
Serving Suggestions
This Delicious and Easy Chouriço Bread is incredibly versatile and can be enjoyed in various delightful ways. Whether you’re hosting a brunch or need a quick snack, these serving suggestions will elevate your experience.
Sandwich Delight
Slice the bread and use it as a base for flavorful sandwiches. Layer it with fresh greens, creamy cheese, and your choice of protein for a satisfying meal. The chouriço adds a unique kick that makes these sandwiches stand out!
Pair with Soups and Stews
This bread pairs excellently with hearty soups and stews. Serve it warm alongside a bowl of tomato soup or a rustic vegetable stew to soak up all the delicious flavors. It’s perfect for dipping!
Toasted with Toppings
For a simple yet delicious snack, toast slices of the chouriço bread and top them with avocado, hummus, or even a light spread of butter. The warm, crispy bread acts as a perfect canvas for your favorite toppings.
Perfect for Picnics
Pack this bread for your next picnic! Its robust flavor and texture make it a great addition to any picnic basket. Enjoy it with cheese, olives, and cured meats for a delightful spread.
These serving suggestions will help you make the most out of your chouriço bread, ensuring it’s a hit at any gathering!
Time Breakdown
Understanding the time commitment for making this Delicious and Easy Chouriço Bread helps you plan your baking session effectively. Here’s a quick breakdown of the total time involved in creating this flavorful loaf.
Preparation
15 minutes
Get your ingredients ready and combine them to form the dough. This initial phase is quick and sets the stage for the rest of the process.
Cooking/Baking
35 minutes
The baking time is crucial for achieving that golden brown crust while ensuring the inside is cooked to perfection. Make sure to monitor the bread as it bakes!
Total
1 hour 50 minutes
This includes rising time, so you can use this waiting period to prepare other dishes or simply relax. By managing your time well, you can enjoy freshly baked bread with minimal hassle.
Nutritional Facts
When indulging in this Delicious and Easy Chouriço Bread, you can enjoy it without guilt, as it offers a well-rounded nutritional profile. Each slice contains about 180 calories, making it a satisfying option for a snack or accompaniment to meals.
Nutritional Breakdown
- Calories: 180
- Total Fat: 5g (including 1g saturated fat and 3g unsaturated fat)
- Cholesterol: 0mg
- Sodium: 300mg
- Total Carbohydrates: 30g (with 1g dietary fiber and 0.5g sugars)
- Protein: 5g
This bread is not only delicious but also vegetarian-friendly, making it suitable for a wide range of diets. Enjoy the rich flavors of chouriço while keeping your nutrition in check!
FAQ based on “People Also Ask” section
What is chouriço bread?
Chouriço bread is a flavorful loaf made with chouriço, a Portuguese sausage, and spices like paprika. This bread is known for its rich taste and is often enjoyed as a snack or accompaniment to meals.
How do you store chouriço bread?
To keep your chouriço bread fresh, store it in an airtight container at room temperature for up to three days. If you need to keep it longer, consider freezing it for future enjoyment.
Can I make chouriço bread without chouriço?
Yes! If you prefer a vegetarian option, you can substitute the chouriço with roasted vegetables or olives to maintain a delicious flavor profile in your bread.
How can I serve chouriço bread?
Chouriço bread is versatile and can be served as a sandwich, paired with soups or stews, or enjoyed toasted with your favorite spreads. Its robust flavor complements various dishes perfectly.
Conclusion
In conclusion, this Delicious and Easy Chouriço Bread is not just a recipe; it’s a delightful culinary experience that brings warmth and flavor to any table. With its simple ingredients and straightforward steps, you can create a loaf that is perfect for sharing with friends and family. Whether you enjoy it fresh out of the oven or as part of a meal, this bread is sure to impress. Don’t hesitate to save this recipe and share it with fellow food lovers. Happy baking!
Print
Delicious and Easy Chouriço Bread
- Total Time: 1 hour 50 minutes
- Yield: 1 loaf 1x
- Diet: Vegetarian
Description
Enjoy this flavorful chouriço bread that’s perfect for any occasion.
Ingredients
- 3 cups all-purpose flour
- 1 packet instant yeast
- 1 teaspoon salt
- 1 cup warm water
- 1 tablespoon olive oil
- 1 cup chouriço, diced
- 1 teaspoon paprika
Instructions
- In a large bowl, combine flour, yeast, and salt.
- In a separate bowl, mix warm water and olive oil.
- Gradually add the liquid mixture to the dry ingredients and mix until a dough forms.
- Knead in the chouriço and paprika until well incorporated.
- Cover and let the dough rise for 1 hour.
- Preheat the oven to 375°F (190°C).
- Shape the dough into a loaf and place it in a baking pan.
- Bake for 30-35 minutes or until golden brown.
- Cool before slicing and serving.
Notes
- Let the bread cool completely before slicing for the best texture.
- Store in an airtight container for up to 3 days.
- Prep Time: 15 minutes
- Cook Time: 35 minutes
- Category: Bread
- Method: Baking
- Cuisine: Portuguese
Nutrition
- Serving Size: 1 slice
- Calories: 180
- Sugar: 0.5g
- Sodium: 300mg
- Fat: 5g
- Saturated Fat: 1g
- Unsaturated Fat: 3g
- Trans Fat: 0g
- Carbohydrates: 30g
- Fiber: 1g
- Protein: 5g
- Cholesterol: 0mg


